My little tree is basic this year with the main ornament the little bird from Dad's graveside flowers. I wanted it to be simple to light up for the kids but bring back memories for the adults.
What is important to you this year? Bring it out in your tree! We only get to go all out once a year like this, so make it worth while! Get out the paints, the glue gun and go for a creative masterpiece!
Labels: christmas, decorating, tree
'I'm thankful for GREAT ART!' by artbybelle
Thanksgiving inspired collections from my DAWG Team members!
 Watercolor ACEO CHIEF SITTIN... $9.99 |  Autumn essentials Bobby pin ... $8.00 |
 North Carolina river in the ... $1.00 | 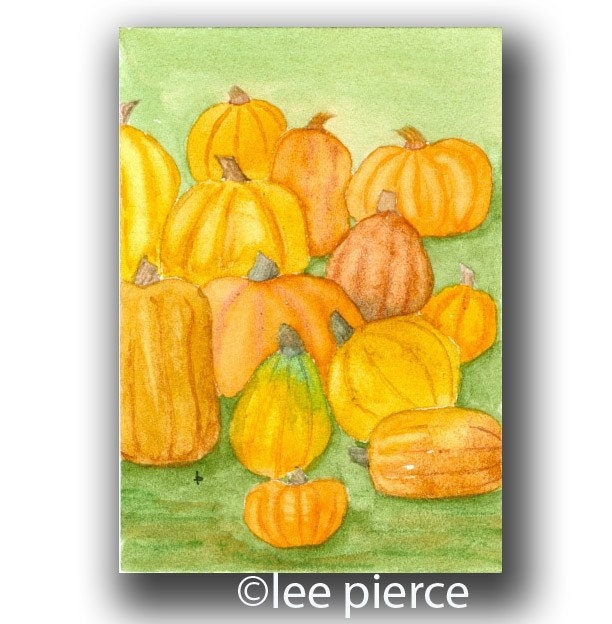 rejects ACEO watercolor PUMP... $10.00 |
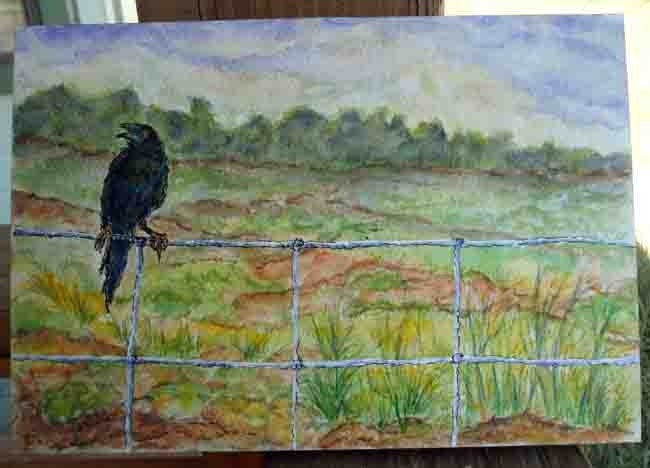 Original Watercolor Painting... $70.00 |  CHRISTMAS SALE Quilled Turke... $3.00 |
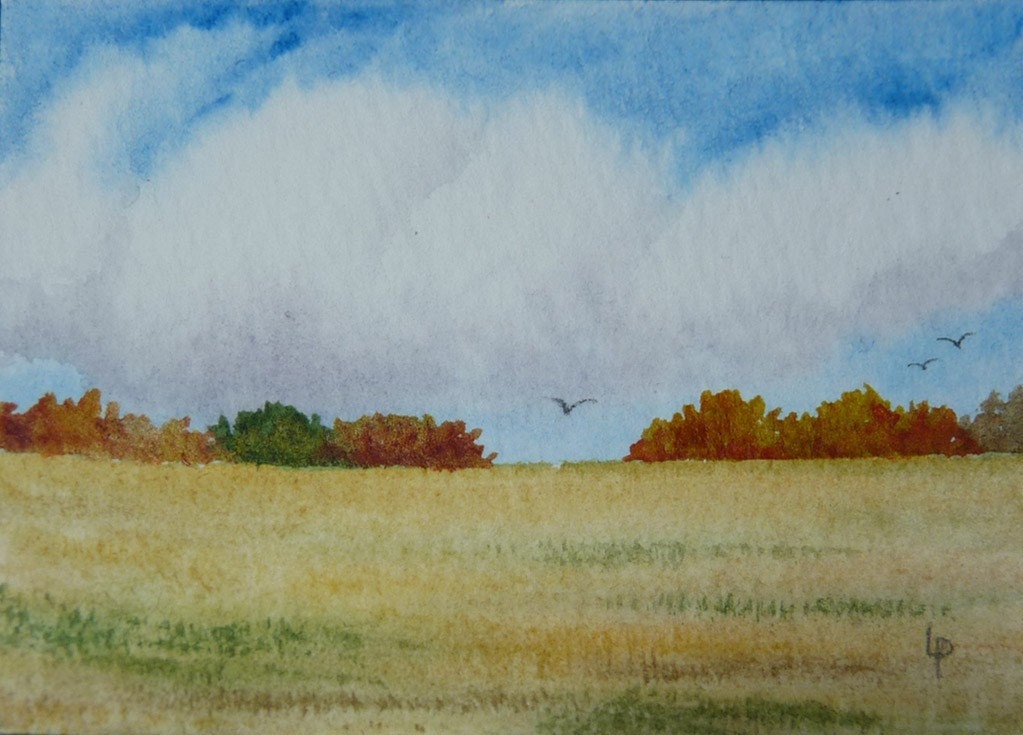 clouds ACEO watercolor FALL ... $10.00 | 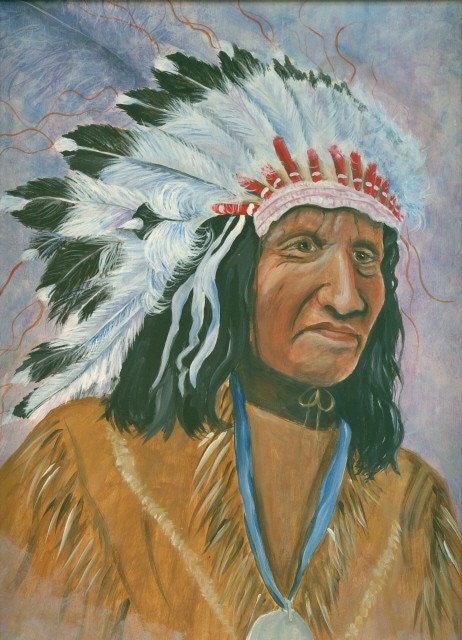 Aceo Indian Chief $3.50 |
 Southern Oak Leaf...ORIGINAL $35.00 | 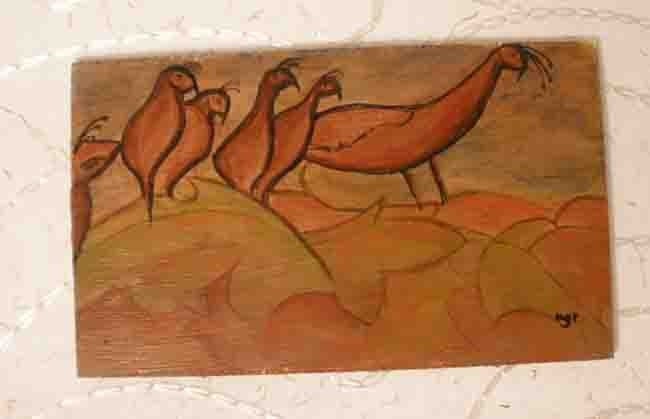 Birds - a whimsical OOAK ori... $15.00 |
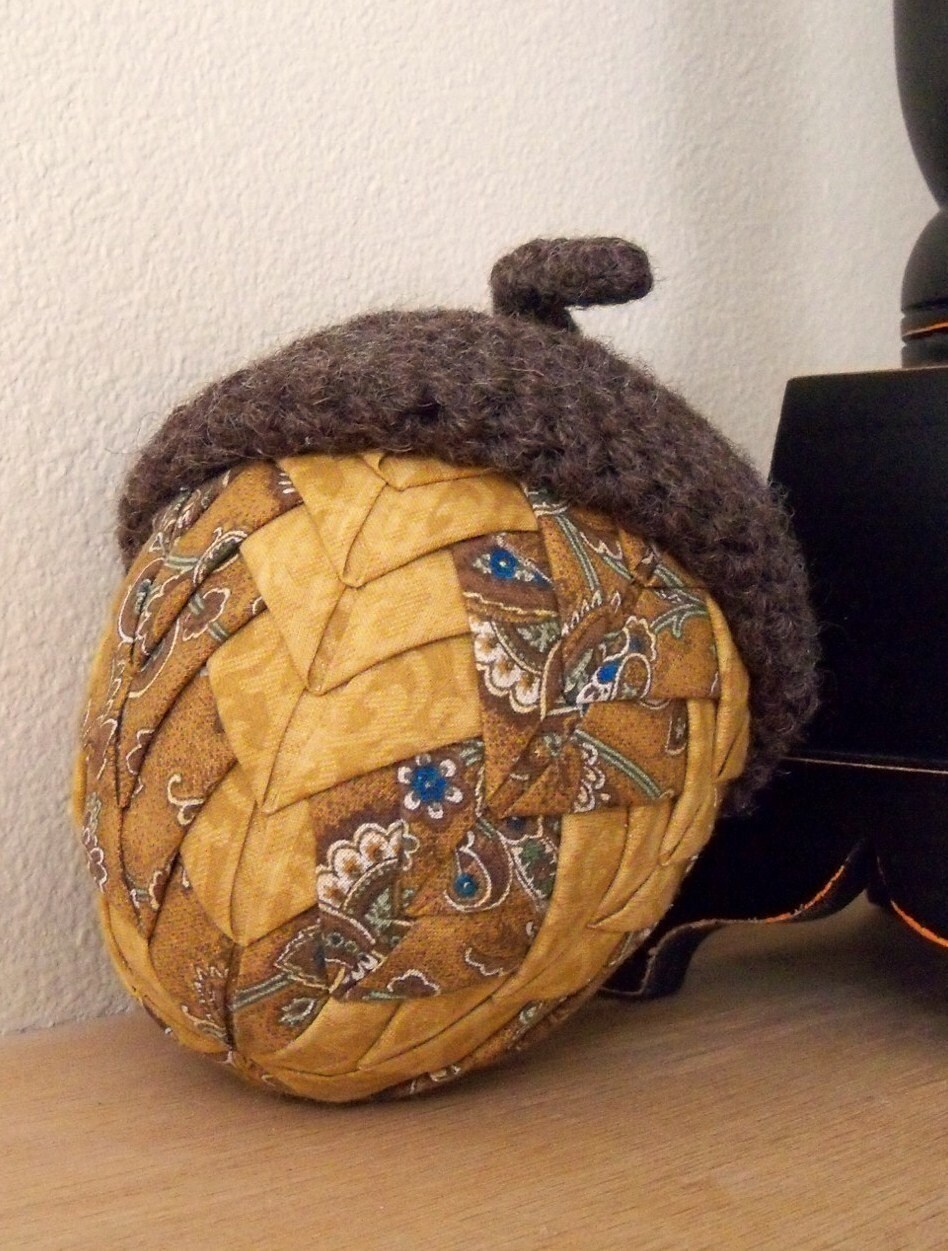 Hand Tucked and Crocheted Wo... $9.00 |  original scratchboard 8x10 ... $15.00 |
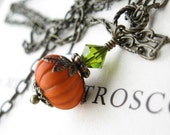 The Great Pumpkin necklace L... $22.00 | 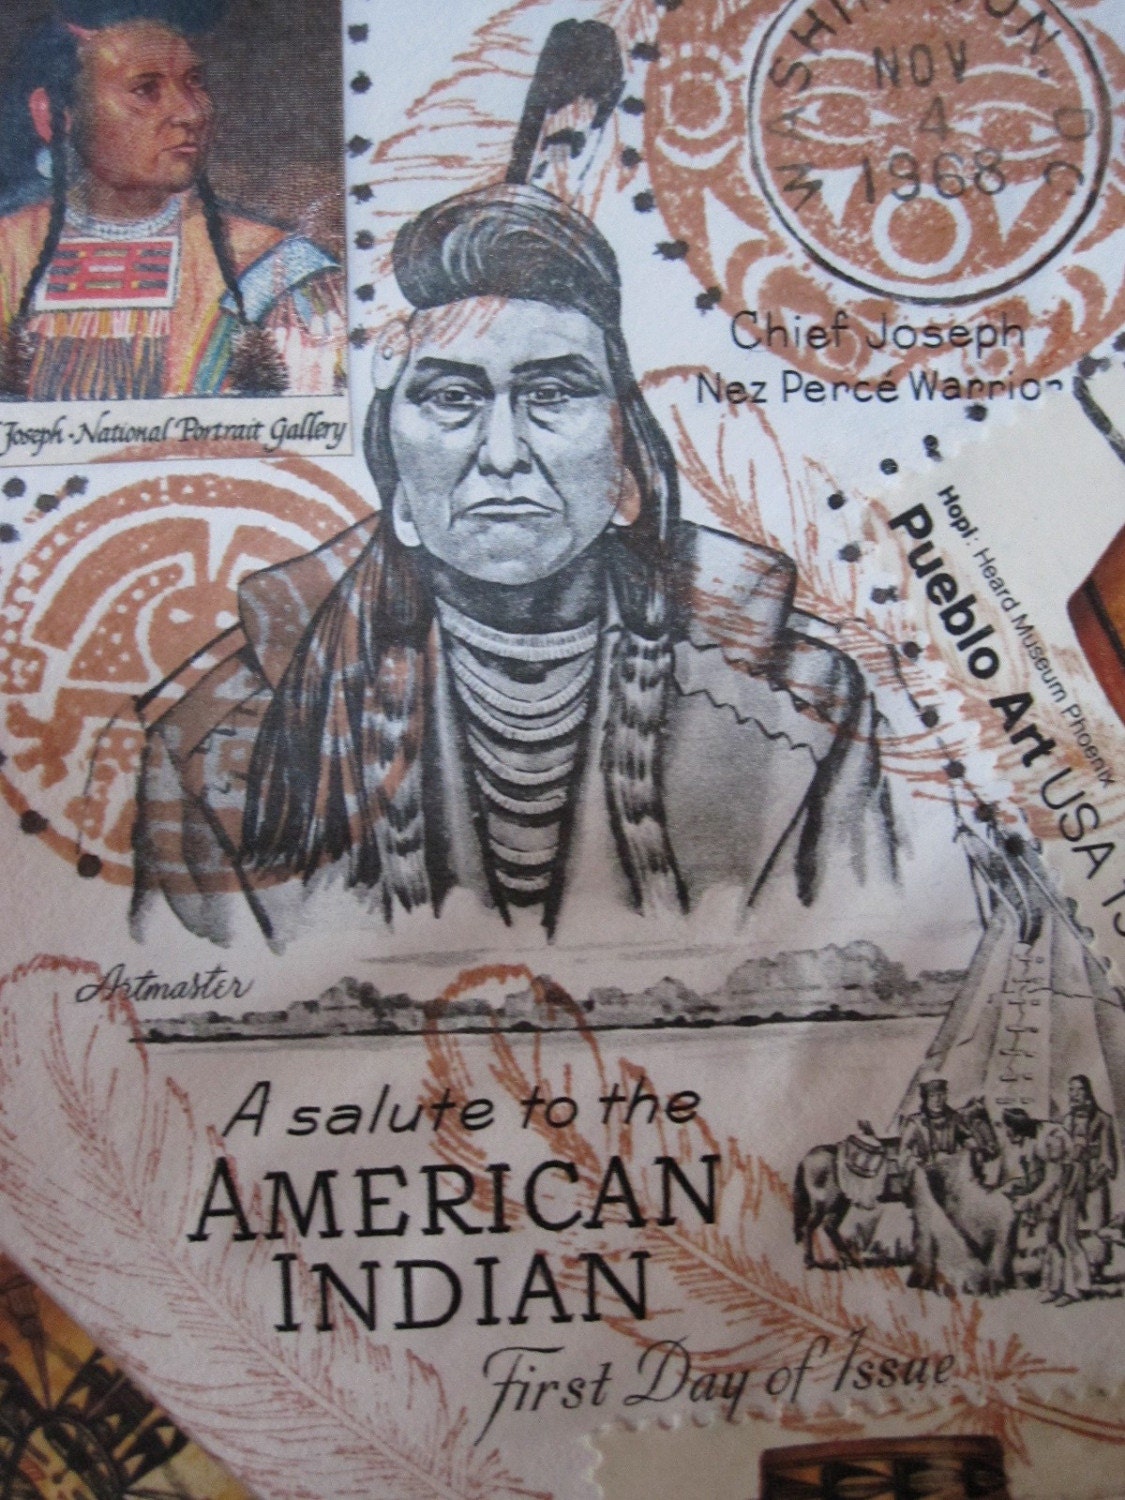 American Indian $5.99 |
 Mushroom - a - boom - Mark... $16.00 |  ACEO - Howling At The City M... $3.00 |
Generated using Treasury HTML code generator by Whale Shark Websites.
Labels: art, DAWG, Thanksgiving
Willard, MO
I am also raffling off a complete set of products from artbybelle! The winner will receive a mystery sketch art card, a floral hair pin and a matching set of earrings, bracelet and necklace. (Pictured below) The color is a very sweet peach!
Labels: craft fair, mo, willard
I will be at the Wild Animal Safari Craft Fair showing my latest designs in wearable art and sketch cards! The fair is to help benefit the local Firefighters! A great cause, and lots of activities for the kids!
Wild Animal Safari is a walk-through and 250 acre drive-through animal park in Strafford, MO where customers can interact with hundreds of different animals. It used to be called the Exotic Animal Paradise.
 Look for the Bohemian Candy booth in the parking lot next to my fellow designer Kelly of Kel's Custom Designs. You'll have lots to see and even more options to buy. We take custom orders and offer resizing when possible. We take custom orders and offer resizing when possible.
There will be lots of craft vendors, so be sure to wear your comfortable shoes! The kids will have a blast, and the whole family will love getting up close and personal with the wild animals!!
Labels: animal, artbybelle, craft fair, exotic, jewelry, kels custom designs, paradise, safari, Show, wild, Wild animal safari
This Saturday Only!!
 I will be at the Pleasant Hope Fair showing my latest designs in wearable art and sketch cards! Look for the Bohemian Candy booth in the park.
There will be lots of craft vendors, so be sure to wear your comfortable shoes!
 I will be sitting with my fellow designer Kelly of Kel's Custom Designs, so you'll have lots to see and even more options to buy. We take custom orders and offer resizing when possible.
 There will be hundreds of Sterling silver and copper designs to choose from and my exclusive hand woven beaded bracelets. I will have purple designs for the Fair Grove Eagles fans, and even a few orange and black for Halloween and Harley lovers!
 Go North from Springfield and follow the signs to Fair Grove. Come early, parking will be tight. There are paid places to park if you would rather catch a ride on the trolley cart. Hope to see you there!
I will be sitting with my fellow designer Kelly of Kel's Custom Designs, so you'll have lots to see and even more options to buy. We take custom orders and resizing when possible.
I just finished my business cards from Vista Print! I love the way they turned out. Click Here to receive my Friends Only Discout!!
Labels: artbybelle, Business, cards, Discount, vistaprint
From One of my DAWG teammates. A FREE comment and follow giveaway. Here are the details...
I am giving away something again, a handmade Cottton Dishcloth, Just comment and follow my blog!
To Be Given away on August 25th!
Follow the Blog Link: http://creationsbylisak.blogspot.com/2010/08/giveaway-time-again-and-new-items-in.html To try and WIN!! Good Luck, But I hope I WIN!!! =)
Giveaway Time From The Dawg Team Artists
http://creativelive.com/courses/watercolor101/
 This is a very informative class and will build your techniques and confidence. You can click the link above to sign up and join in the fun right now. You can even buy the classes you missed, or the ones you want to view again and again!
 The live class is completely free, so hurry over!
  Instructor: MOLLY MURRAH
I have been playing with my photo editor and loved the old feel of this photo. It matched well in western decor with the sepia colors and old world grit. You can see more about it and my other listing in my artfire studio by going to http://www.artfire.com/users/artbybelle
Thanks for looking!
Labels: artbybelle, artfire, horse, photobucket, sepia
Currently listed on eBay, I have 4 of my Twilight Art Cards. I'm currently working on adding a fifth brand new sketch card.
You can click here http://shop.ebay.com/i.html?_nkw=twilight+ACEO+Belle to choose your favorite and start a bidding war!
My portrait of Bella as portrayed by Kristen Stewart is done with pencils on a miniature scale of 2.5 by 3.5 inches. Prints will be made available for purchase or win one on Listia for a short time.
Labels: ACEO, artbybelle, bella swan, kristen stewart, twilight

My page is completed and submitted and will appear in the latest version of this clever diary. Click above or the following link to get more information regarding this idea and pre-ordering. There are still a few spaces open.
http://www.fantazya.ca/diary2011.html
Labels: advertising, artbybelle, diary, update
Ingredients:
1/3 cup cornstarch
1/4 cup white glue
- Projects can be air dried.
- Dries like china or fine porcelain
- You may color, but will have to decrease the glue content a bit or need to add more starch. It is also possible to paint after dry.
- Applying hand cream before working it will create smoother creations
- Skewer to create beads
- Dries in 2 days or cures in oven (Heat to 350 degrees then turn off and place in oven while it cools
- Can also be used to make rigid molds, they will create smaller pieces than original due to shrinkage
- Try rolling out very thinly, then leave over night. In the morning use punchies to create designs before it is completely dry.
- Expect up to 30% shrinkage as dries
- Spray finished project with clear fixative to resemble porcelain
Labels: clay, corn starch, homemade, How To, porcelain

The Major Planes
When drawing the nose, I’ll usually start by indicating the 4 major planes - top, 2 sides, and bottom. Getting the angles of these planes correct is important to show the proper perspective of the nose in relationship to the rest of the head. Keeping it this simple in the beginning helps to ignore the details and focus only on the width to height relationship of the entire shape of the nose and to compare it to the rest of the features. Once the big shapes and the perspective are solved, it’s much easier to add the details on top.
Anatomical Information
I think the anatomical shapes in the nose are really interesting. It’s made up of interlocking pieces of cartilage and fat attached to the bone of the skull. Half of the bridge of the nose is bone and the other half is cartilage. The lateral cartilage on the bridge wedges between the two pieces that make up the ball of the nose. The nostrils connect to the ball like curled wings.
 BridgeThe bridge of the nose is composed of the nasal bone, maxilla, and lateral cartilage. The nasal bone connects to the brow ridge at the glabella. The edge of the nasal bone and lateral cartilage has a thin, sharp ridge as it transitions to the side plane and then connects to the maxilla. The maxilla is usually slightly convex and gently transitions to the cheeks. |
 BallThe ball of the nose (Greater Alar Cartilage) is actually made up of two halves with the lateral cartilage wedging between the two. This separation of the two halves is not always visible. The cartilage curves downward and tucks under itself to connect to the skull. |
 NostrilsThe nostrils (Alar Fat), made of fatty connective tissue are like wings attached to the ball of the nose. Viewed from the bottom, the nostrils connect to the face further back then the septum because of the protrusion of the tooth cylinder. |
The Minor Planes
It’s important to memorize the subtle plane changes in all the different part of the nose. These subtle plane changes are usually seen as halftone shapes which to the untrained eye appear to be random. Once familiar with the minor planes, you can easily figure out what each halftone shape represents and how to design it in your drawing.
Minor Planes of the Bridge
The Glabella is shaped like a keystone. This keystone shape is slanted downward and will usually have some halftone on it connecting the eye sockets together. Immediately after the glabella, the nasal bone turns upward and then back down after the connection to the lateral cartilage. This area of connection between the nasal bone and lateral cartilage tends to be the widest part of the bridge and also creates a subtle ‘bump’ seen from the side.Minor Planes of the Ball
The ball of the nose isn’t perfectly round, but has very distinct plane changes. It has a top, front, and bottom plane as the septum curls under itself and connects to the skull. The side plane acts as a step down to the nostril. The shape of the greater alar cartilage varies drastically from person to person. It can be soft, chiseled, large and bulbous, thin and pointy etc…Minor planes of the Nostrils
The nostrils, also called wings, curl under themselves similar to the septum. The nostrils are not paper thin, so an indication of the front planes is crucial to give them some thickness. Don’t forget to show the curve by separating the top and side planes, usually with a gradation of tone.The hole of the nostrils often appears as a sideways comma shape with a sharp edge at the top, and softer edge at the bottom.
Drawing the Nose
 The reference photo. The reference photo. |
 1. I start drawing the nose the same way I start drawing anything: analyze the biggest shape first. Make sure the placement on the face is correct and that the size and shape is working in relation to the other features. What’s the point in drawing any details if the underlying drawing is crooked, too big, and in the wrong place? |
 2. When I’m happy with the big shape I’ve established, I will lay-in some of the smaller plane indications and some anatomical information. All my lines at this point are very light, so that I’m able to easily erase them when making adjustments. |
 3. When beginning to shade, the first thing I do is separate the lights from the shadows. Stay simple and don’t lose control of your values. |

Related tutorials: How to Draw Lips, How to Draw Eyes and How to Draw Ears
Labels: artbybelle, draw, How To, nose, tutorial


